
Easy DIY what?
Yes, I know that’s what some of you are thinking, and I’ll explain. But first, some background.
Over the course of my 20s thus far, I’ve definitely acquired a lot of new tastes that I couldn’t stand in my childhood years. In the past I’ve talked about how my dad is a dude who has always looooooved his pickled beets and sauerkraut. Although I’m a pretty adventurous eater, these were two items you’d never see me go near. One of my regular chores at home was loading and unloading the dishwasher, and opening the door only to find (and smell) sour pickled purple beet juice splattered everywhere was enough to send me straight out of the kitchen in a matter of seconds.

These days I ??? beets – not pickled, but raw, roasted and juiced are my jam. Sauerkraut however, has not been so easy to get into. It falls into the category of foods I want to like because of the health benefits – particularly the probiotics created as a result of the fermentation process. I tried making it last year, only to learn afterwards that the reason it was so terrible (envision a ? upon first taste) was because I didn’t realize I had to rinse the salt off the cabbage before jamming it into a mason jar for a week. Massive #krautfail.
So what’s kimchi then (or kimchee, depending on how you like to spell it) and why did I decide to try making some? Think of it like a Korean version of sauerkraut – cabbage and a bunch of other pickled fermented vegetables, sauced up with Korean chili garlic sauce, also known as gochugaru. It’s used as a side dish served with a ton of traditional Korean meals, including my favourite, bibimbap. Just like sauerkraut, it’s rich in probiotics, fibre, and depending on what sort of veggies you mix in, lots of other nutrients too.
As someone who’s pretty active, I know my digestive system tends to be under a fair bit of stress. I take probiotics regularly, aim to eat a lot of fermented foods (homemade kombucha for the win!), and very recently, I felt brave enough to reattempt fermented vegetables in the form of kimchi.
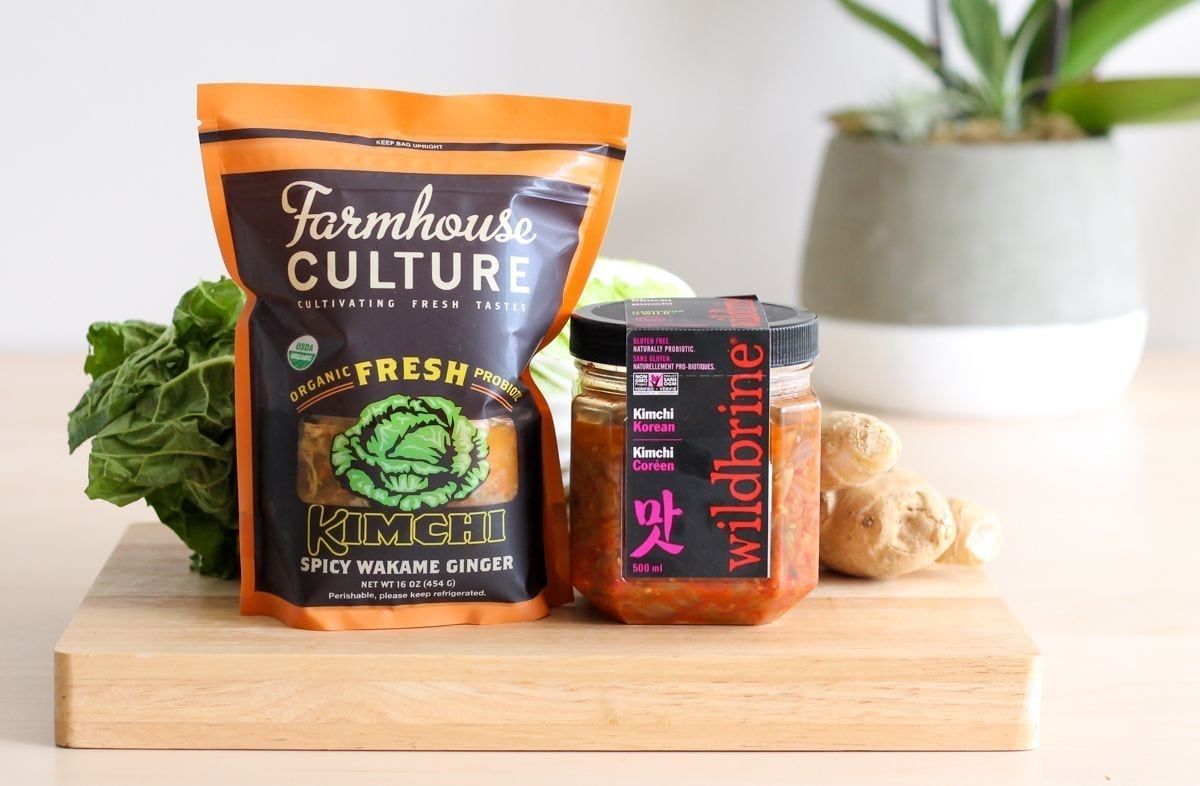
My first to-do was buying and tasting some real (as in store-bought) kimchee in order to get an idea of what it’s supposed to taste like. I experimented with lots, including Farmhouse Culture’s Spicy Wakame Ginger (fermented seaweed, cabbage and ginger)…

…and a bunch of flavours from Wildbrine. These guys have some amazing (vegan and gluten free!) kimchi and sauerkraut varieties, including traditional Korean Kimchi, Japanese (miso horseradish) and Thai.
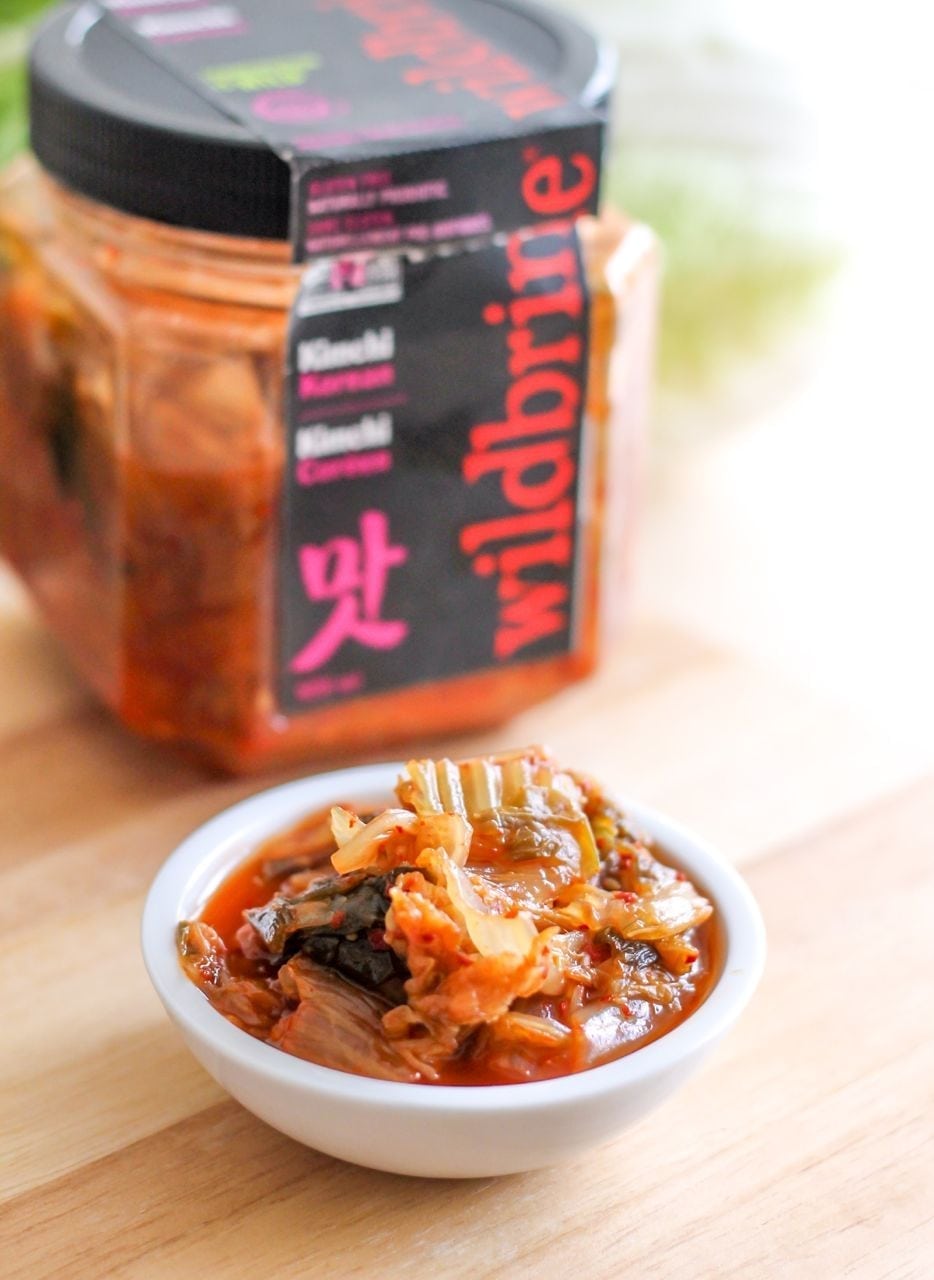
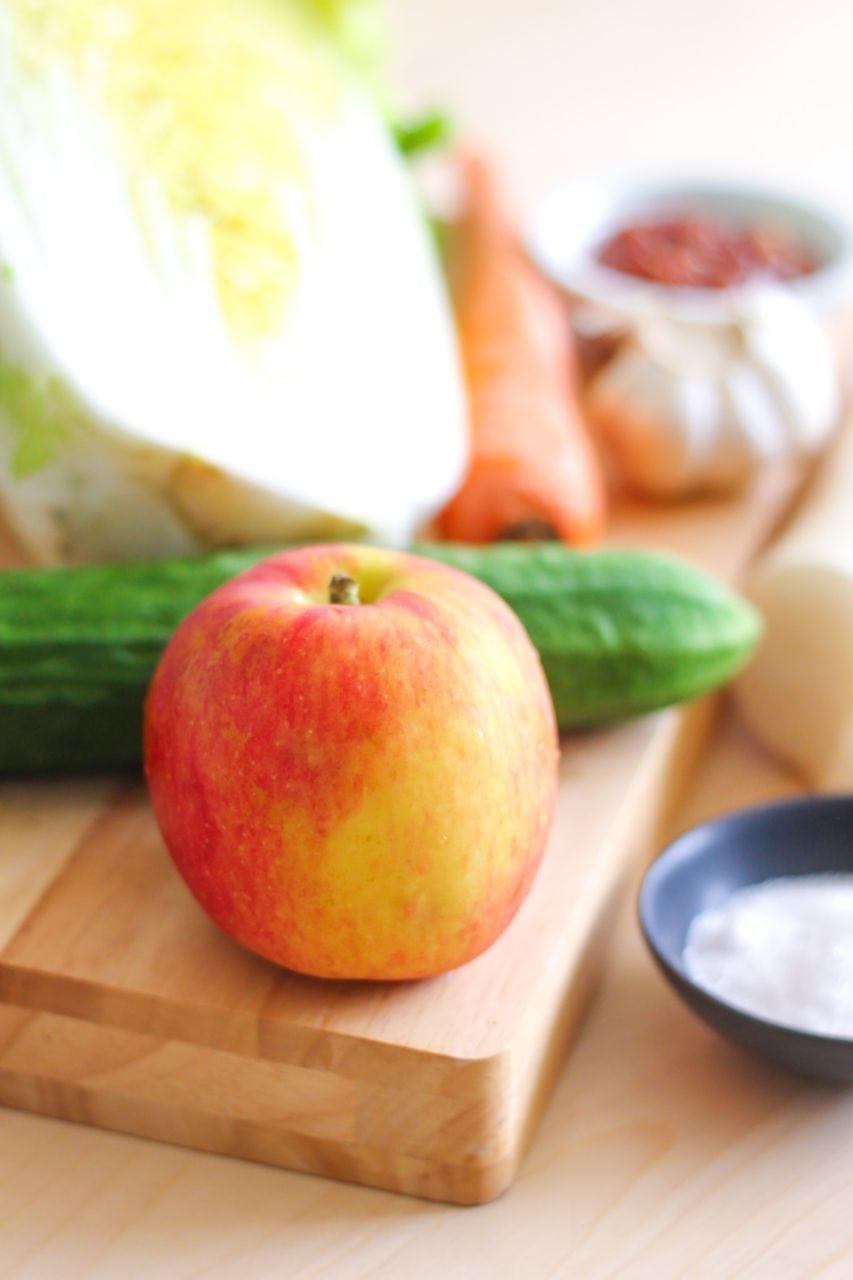
Farmhouse Culture’s kimchi was really strong tasting, but I still enjoyed its tanginess with lightly steamed greens. My favourite of them all (and perhaps best for kimchi newbies like me) was the Wildbrine’s Thai Kimchi, which is what I plan to re-create next. For my first experiment though, I stuck to a fairly traditional Korean combination of ingredients: cabbage, scallions, carrot, daikon, cucumber, and apple to sweeten. Oh, and because I’m a ginger fiend, I included plenty of that as well. ?

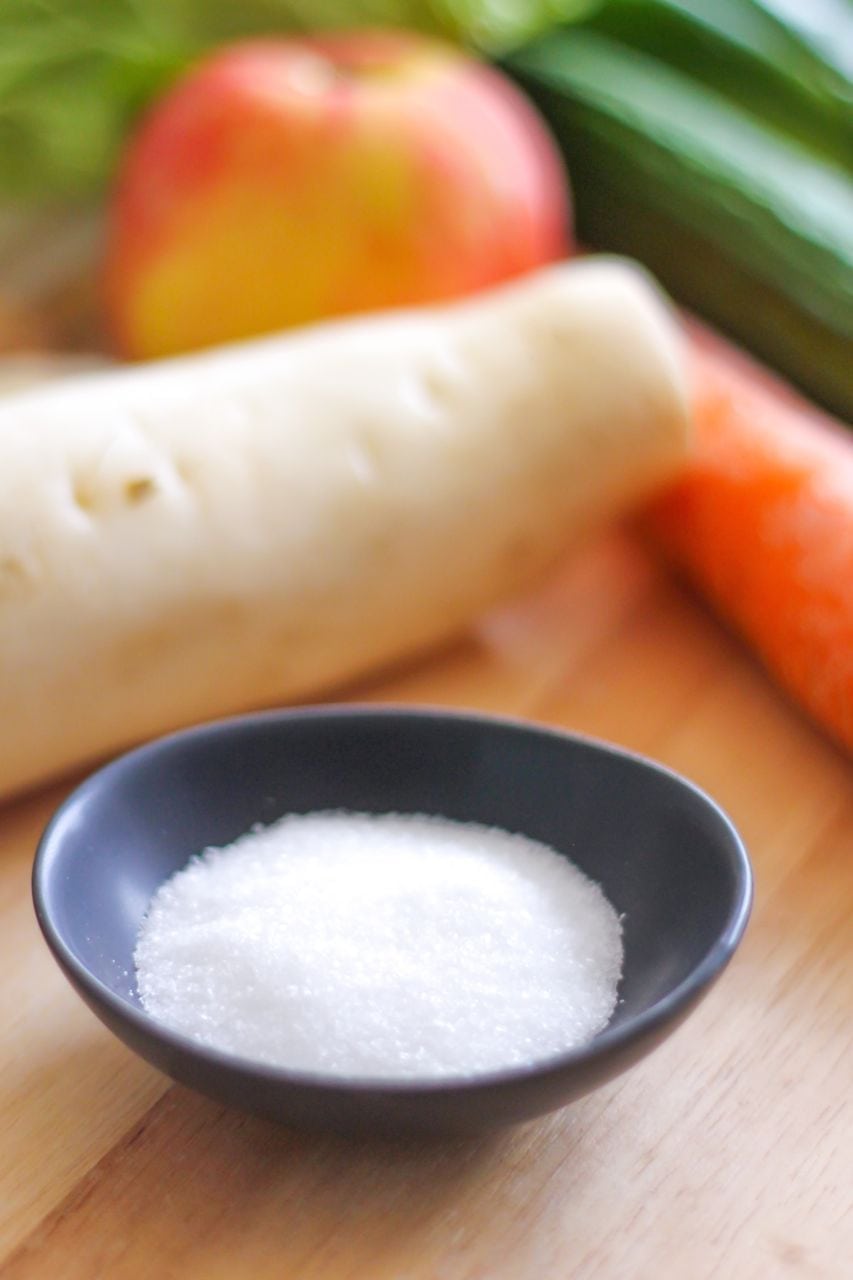
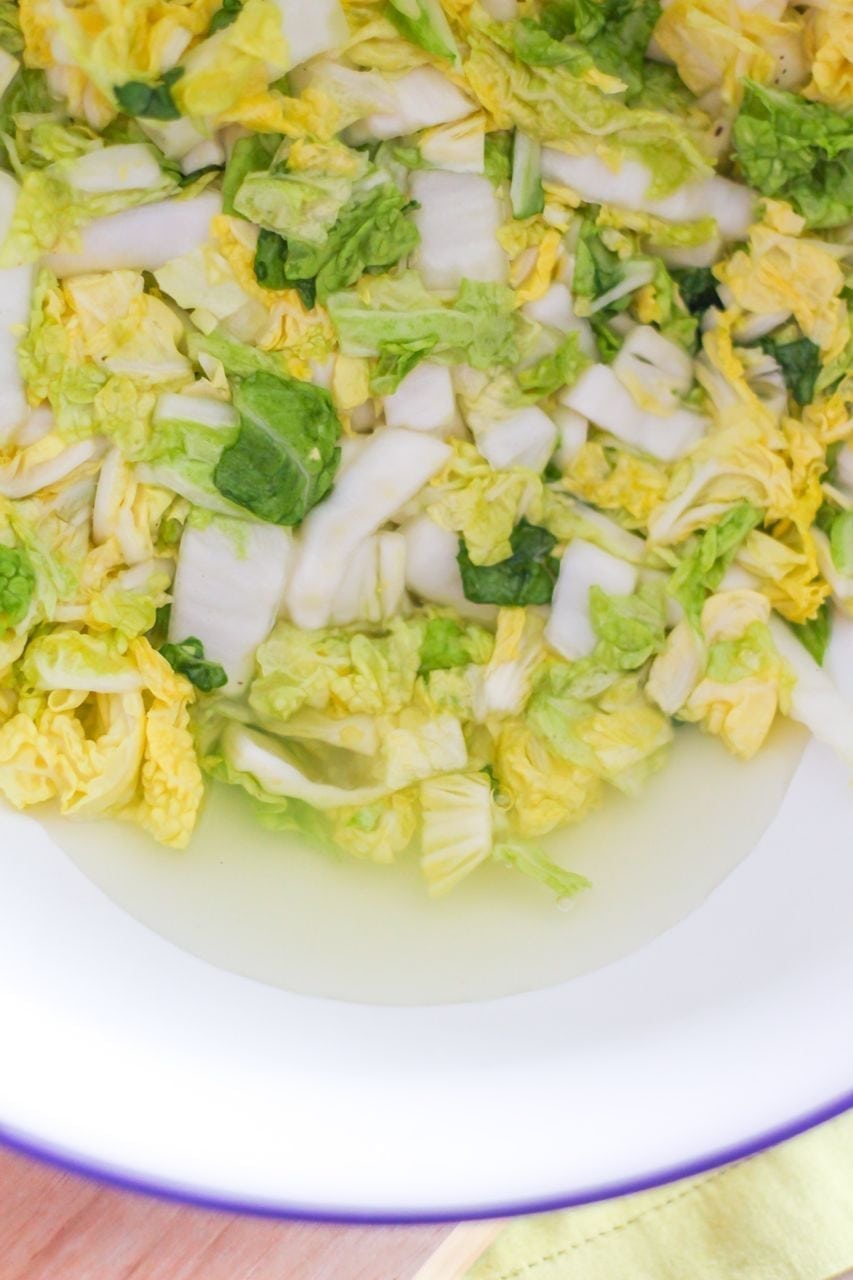
The first step in all of this (and perhaps the most important) is to ‘sweat’ the cabbage, which just means dousing it in salt, giving it a good massage, and allowing it to sit for about half an hour. In this time, the salt causes the water to come out and the leaves to wilt. (If you use green or purple cabbage my hunch is that it would take much longer, but napa cabbage seems to release its moisture pretty quick.)
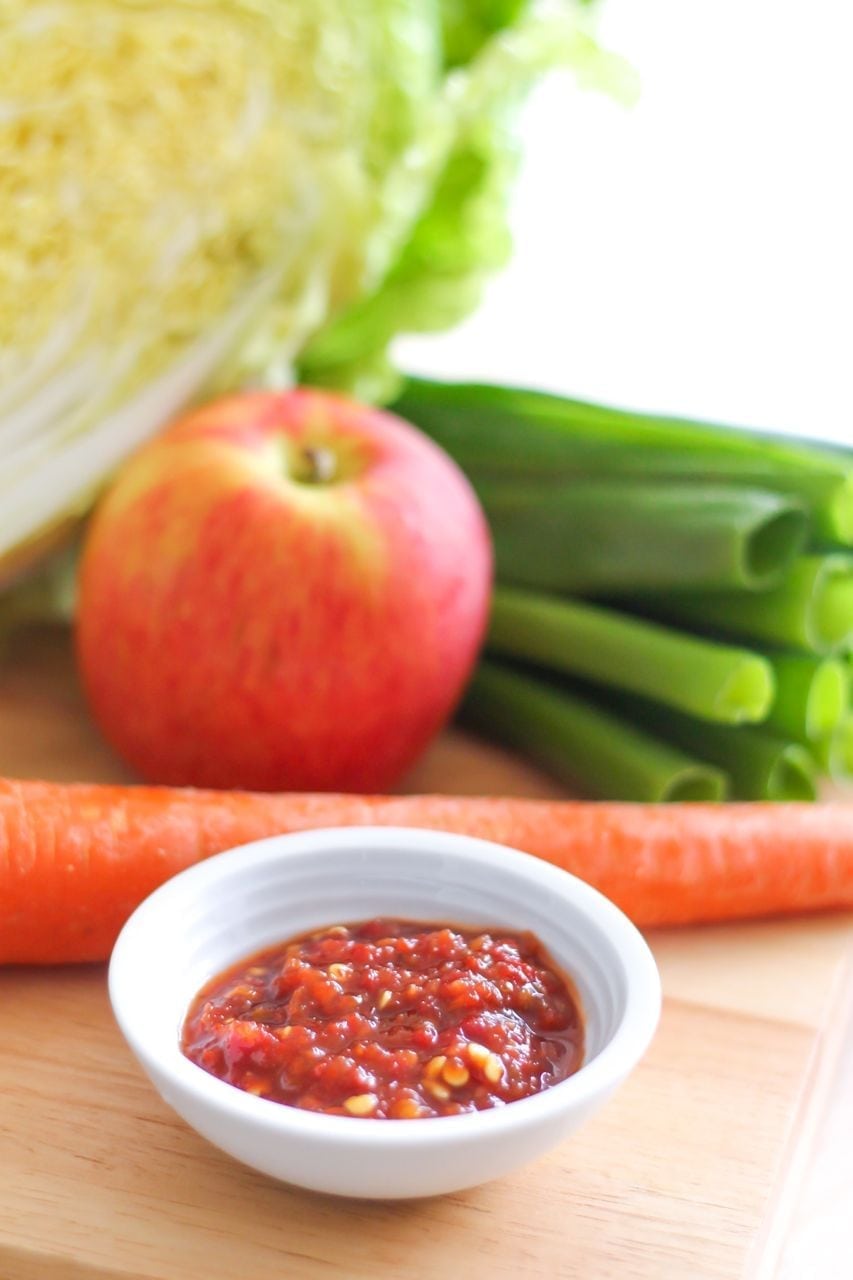
After the water was drained off, I gave the cabbage a really good rinse (a crucial piece you won’t want to forget!), then mixed it with the other vegetables and some chili paste. In the recipe below I’ve indicated 2 tbsp which gave the kimchi a good spicy kick, but if you like 5-alarm fire condiments, feel free to add more.


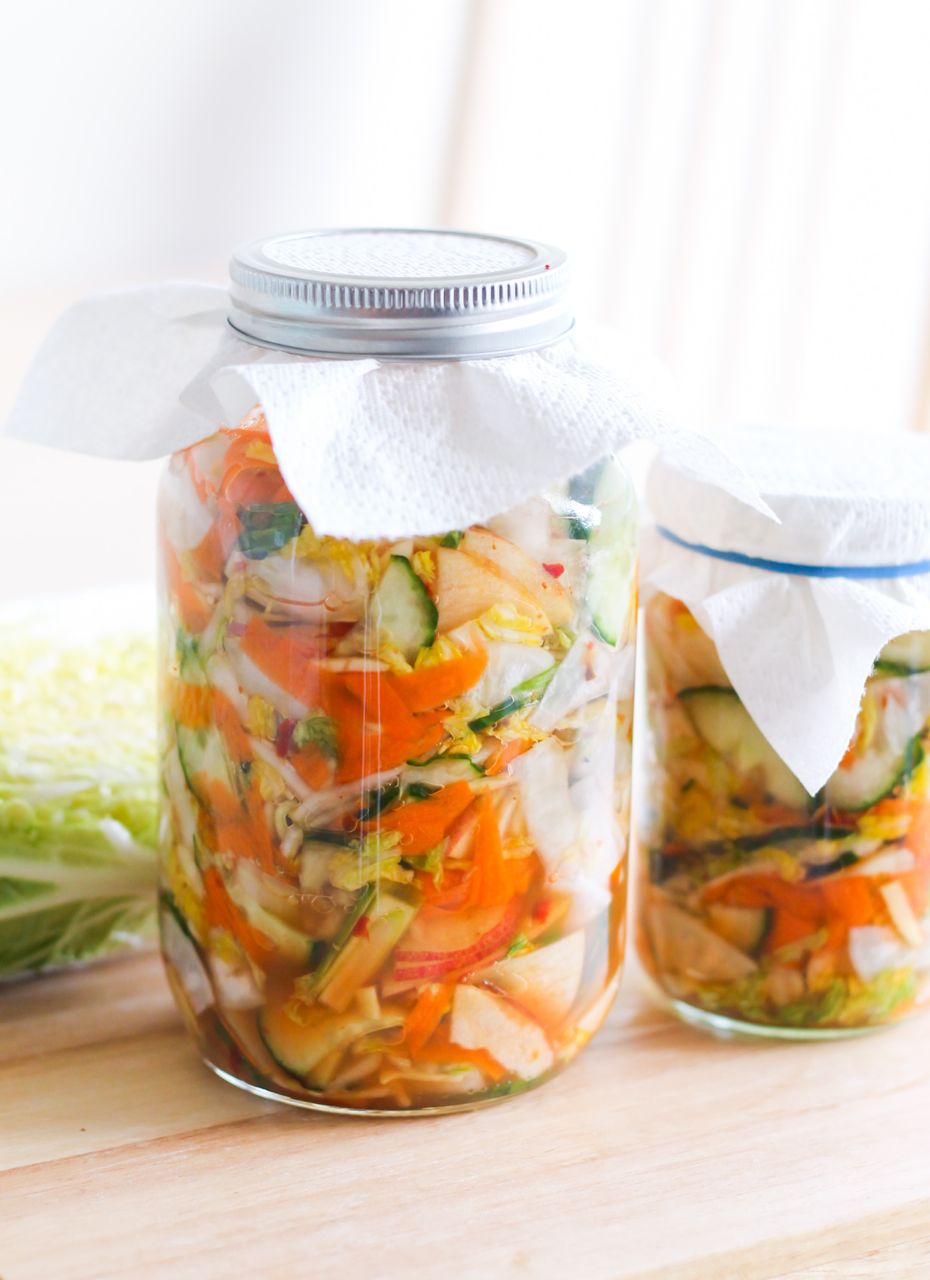
Once everything was mixed together, I stuffed the kimchi as tightly as possible into mason jars, leaving a bit of space at the top so that the jar wouldn’t overflow once the vegetables started to expand. I added a wee bit of water to cover the vegetables at the top of the jar, secured a paper towel over each jar (because you’ve gotta let that kimchi breathe while all the fermentation magic happens!) and stored the jars in a dark cupboard. 5 days later….
Done! I’ll admit I was a little bit scared to try my first bite because I always worry that I’m going to make myself sick with fermented things. Much to my surprise, it was delicious (and I’m still very much alive!) The apple added just the right amount of sweetness, the chili sauce gave it just enough heat, and the sour tang that defines a good batch of kimchi was definitely there. I’m sure it would have been even stronger had I left it to ferment another 5 days, but this was just enough for my liking.
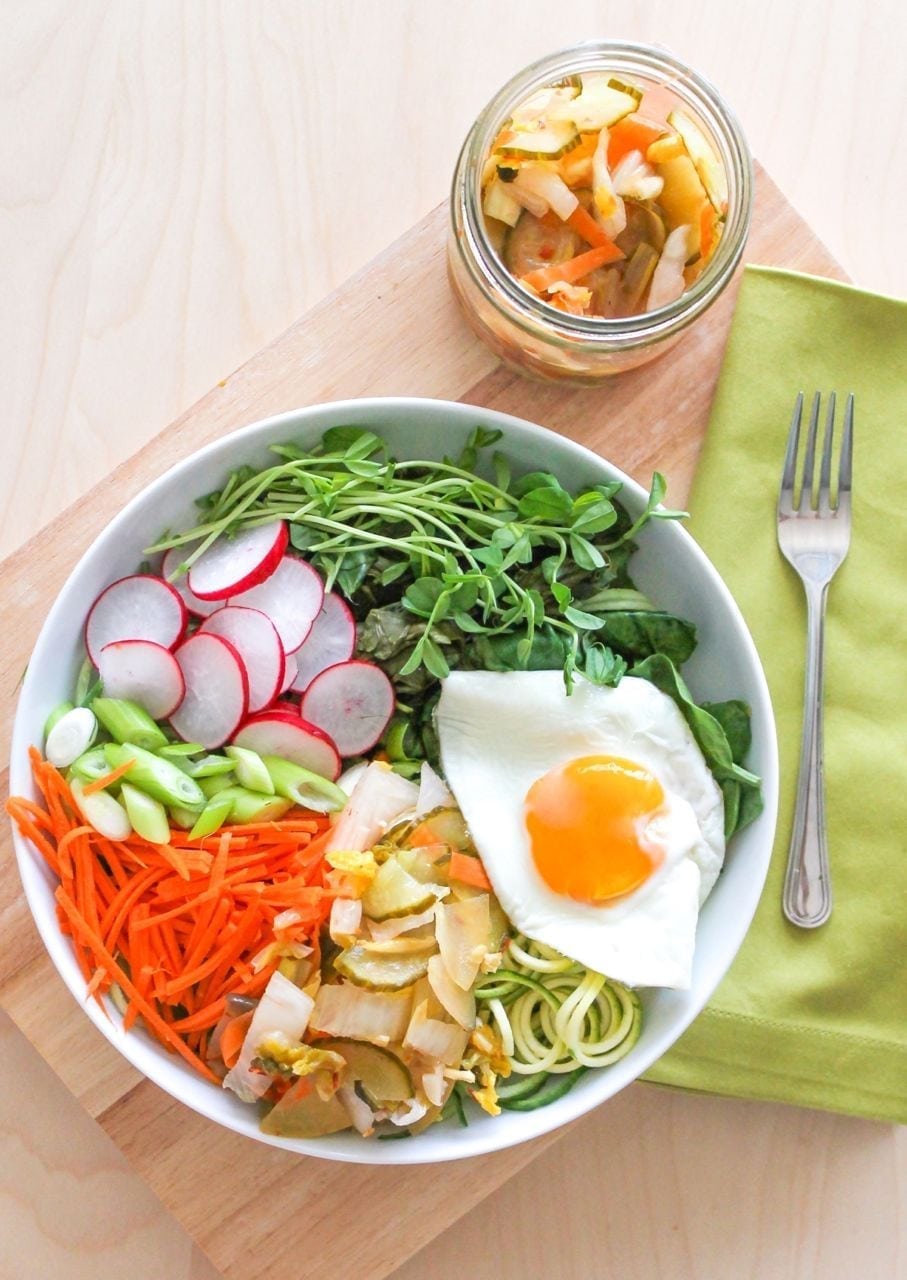
Recently I’ve been using the kimchi as a side for things like fish, steamed veggies, and other Asian-inspired bowls like the one above. If you’d like to give this a try for yourself, here’s the exact process I followed:
DIY Kimchi
Prep Time: 15 mins (+30 mins inactive)
Cook Time: 5 days fermentation time
Ingredients (2 x 1L mason jars)
- 10 cups napa cabbage, cut into 2 by 1-inch pieces (reserve 2-3 large leaves, uncut).
- 2 tablespoons sea salt
- 2 large cloves garlic, finely minced
- 1 1/2 tbsp fresh ginger, peeled minced
- 1 apple, cored and thinly sliced
- 2 tbsp Korean chili paste (gochujang) or other hot pepper paste
- 3 scallions, chopped into 1” pieces
- 1 carrot, peeled and sliced into ribbons
- 2 cups very thinly sliced daikon
- 2 cups very thinly sliced cucumber
Instructions
Wash all vegetables and measure out all ingredients as indicated above so that you have them ready.
Place the chopped cabbage in a large bowl and sprinkle with the salt. Use your hands to massage the cabbage, working the salt in as much as you can. Cover the bowl and let it sit (about 30 mins should do the trick). During this time, the leaves will wilt and release water.
Meanwhile, in a separate bowl mix together all remaining ingredients except for the hot pepper paste.
(Note: If you’d like a more saucy kimchi, you can pulse some of the vegetables and hot pepper paste in a food processor to break it down into a puree – totally up to you!)
Back to the cabbage… Water should have collected at the bottom of the bowl. Dump the salted cabbage into a colander/strainer and rinse very well with water to remove the salt. Pat the cabbage dry and stir in the hot pepper paste.
Mix in the remaining vegetables, stirring well to coat.
Transfer the kimchi to glass mason jars, packing it as densely as you possibly can. Leaving about 1″ of empty space at the top.
Add a little water to each jar so that the ingredients near the top are completely covered.
Put a piece of cheesecloth or a paper towel on top of each jar so that they can breathe while fermenting and secure it with a rubber band. Place the jars in a dark cupboard at room temperature and allow them to ferment for about 5 days.
When ready (taste it to be sure – it should be kinda spicy, kinda sour), remove the paper towel and elastic band from the jars and put a mason jar lid on each to seal. Store them in the fridge until ready to use.
Click here to print the recipe
[Tweet ” Because good digestion is awesome! DIY Kimchi Tutorial #guthealth #probiotics #foodie”]

So tell me…
- Have you ever tried making your own fermented foods?
- Sauerkraut and kimchi – do you love em or hate them?
I can eat kimchi back the truck full! I love it so much (Living in Korea for 3 years formed this deep admiration) And it is so simple to make at home!
If you ever make a “fried rice” with say quinoa or barley, it’s really great put into the mix. Sauteeing or grilling kimchi makes it taste so great.
Aha, so THAT’S why it tasted so foul! In that case, I MAY reconsider my statement to never make it again.