
Let’s kick the week off on a cheery rainbow note, shall we?
This weekend I was sorting through my craft stash when I came across a few goodies that I bought in the fall of last year but have yet to use. Does this happen to any of you, too? I was clearly pretty wrapped up in holiday card making back then, but have to say that it was absolutely delightful to “shop my stash” and find some new-to-me products!

One of said forgotten items was The Stamp Market Florally Fun Die Set, an 11-piece set featuring fun modern florals in different sizes. The dimension-lover in me loved the idea of adding a rainbow of blooms to a card, so I grabbed the smallest flower in the bunch, some vellum, cardstock scraps, and my die cutting machine, and got to work.

The flower was sized just right to fit twelve of them in a 3×4 grid, so I cut one in each of my 12 colours, and 12 additional in vellum. Next, I adhered each of the vellum flowers in a grid on my trimmed white card panel, ensuring that everything was nice and evenly spaced. The coloured flowers followed in ROYGBIV-ish order, and before adhering them, I lightly pressed each petal around my craft knife (which is round) to create some curves.
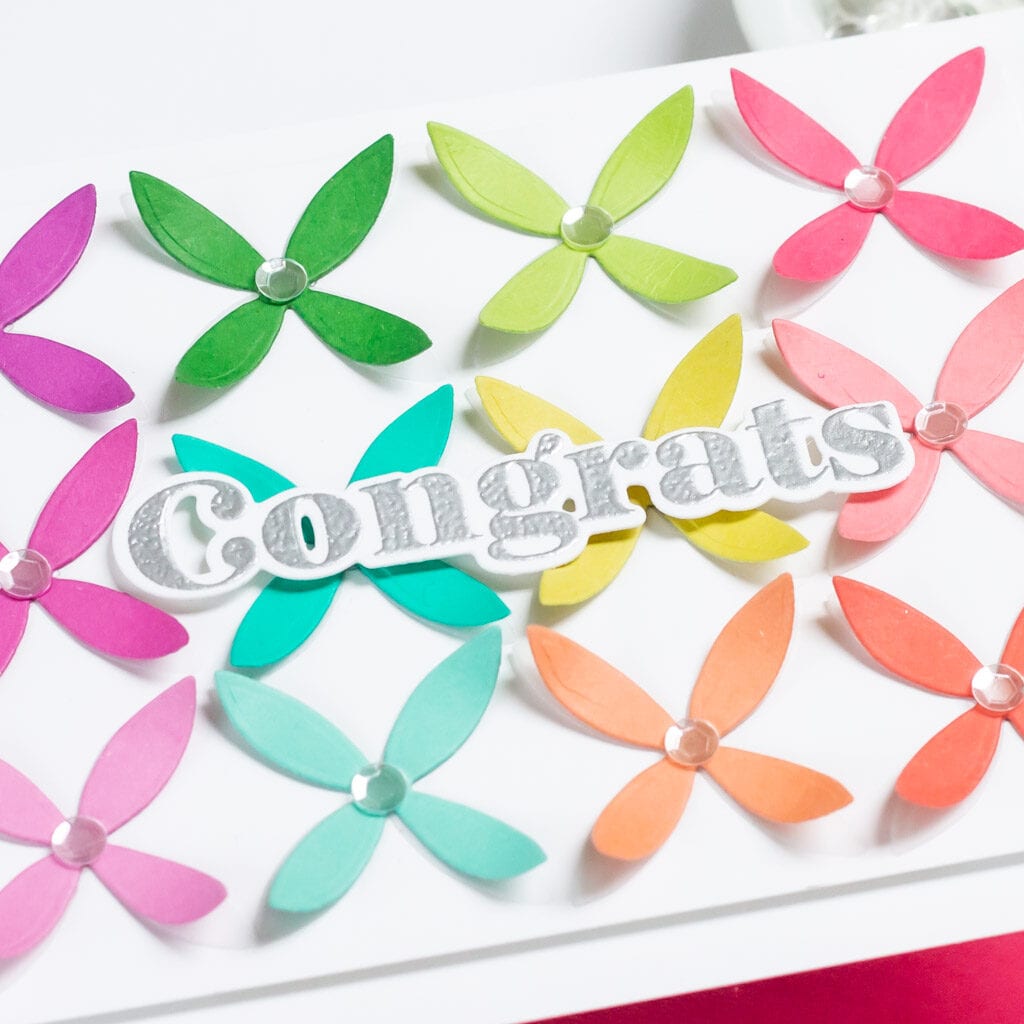
Next it was time for the sentiment, and for this I chose the ‘congrats’ in the Gorgeous Greetings stamp set. This is another newer item in my craft stash, and one I’ve already been making tons of cards with. The cost will be down to pennies per use soon, I know it! I embossed the sentiment in silver on white cardstock, cut it out with the coordinating die, and adhered it across the center of the flower panel.
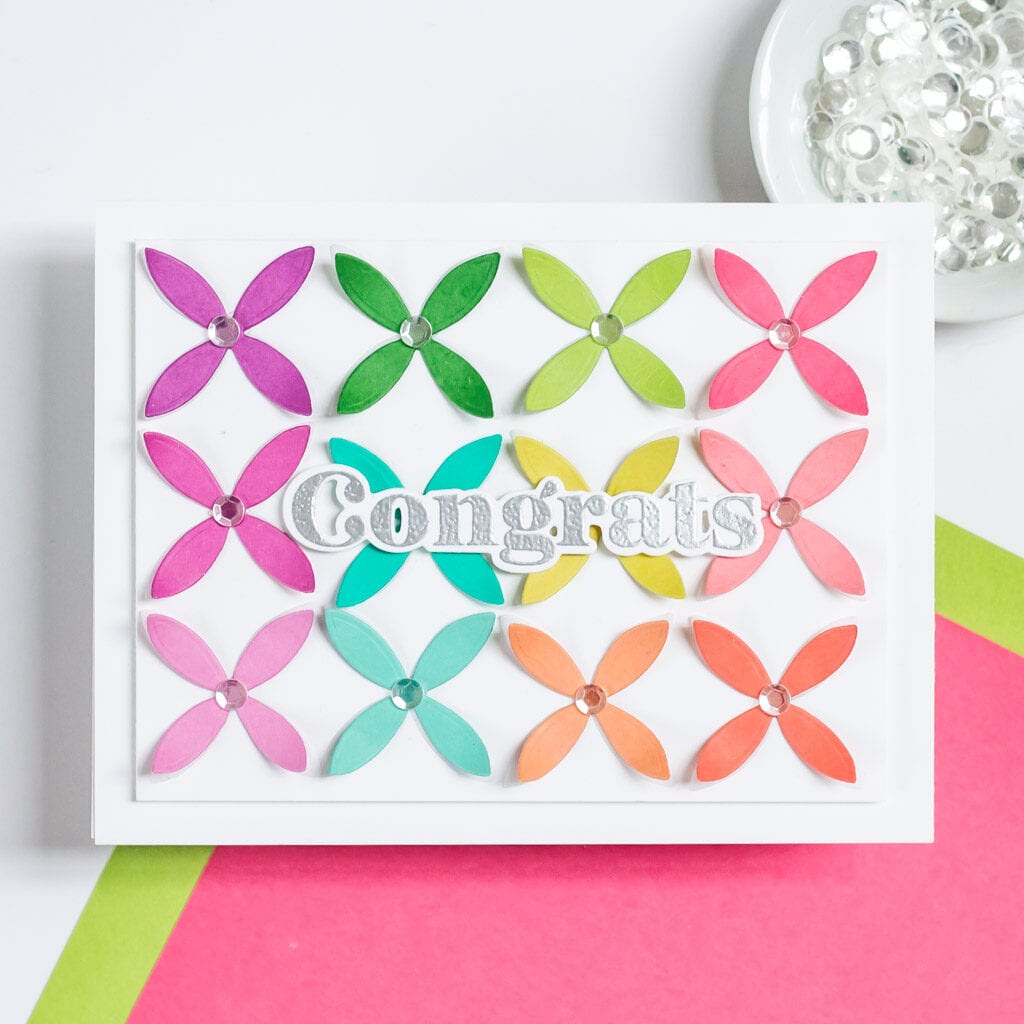
A little sparkle was needed to finish things off, so I added crystal confetti to the center of each flower. I backed the entire flower panel with foam tape, mounted it on my card base, and that, my friends, was it! Super simple, and relatively quick to assemble once the die cutting was done. This card makes me really hopeful for spring, and I hope it puts you in a cheery mood too!