One of my favourite memories from summers of years past was going to visit my cousins at their house in Ontario. At the time, my family lived in my hometown of Edmonton, and making the trip was something I’d look forward to for months.
We spent our days doing all the things that make summer holidays great. We’d swim, sun tan, and go tubing out on the lake. We choreographed dances to the Spice Girls, rented chick flicks from Blockbuster (whaaat?!), went to busker festivals and rollerbladed around the neighbourhood. And of course, we made countless trips to Baskin Robbins for ice cream, deciding on flavours only after trying all 31 as samples first.

It’s been a long time since those frequent B&R trips, but this summer was in no way short of ice cream – banana ice cream, that is. Outside of copious amounts of fresh watermelon and berries, vegan banana-based ice creams are one of my favourite desserts and the flavour possibilities are endless. In fact, I just so happen to have 4 for you today!
Before we get into the recipes, I should let you know that I’ve learned a lot about banana ice cream making since I first jumped on this Pinterest trend. Here are some of my best tips for making sure your ice cream turns out awesome every time:
- If you want your ice cream NOW, use frozen bananas and other frozen fruits in the recipes below. It won’t be firm enough to create nice round scoops, but instead you’ll get a creamy soft serve that tastes just as delicious and is ready in minutes.
- If you DO want to create round scoops, I’ve found optimal freezing time to be 4 hours. I realize however, that you might want to make larger batches with leftovers. Adding lots of liquid (almond milk, coconut milk etc) can make banana ice cream freeze up to be rock hard, which is why in the recipes below, you’ll see that minimal liquid is used. For ice creams frozen for 8 hours or longer, leave them out on the counter for about 20 minutes before serving.
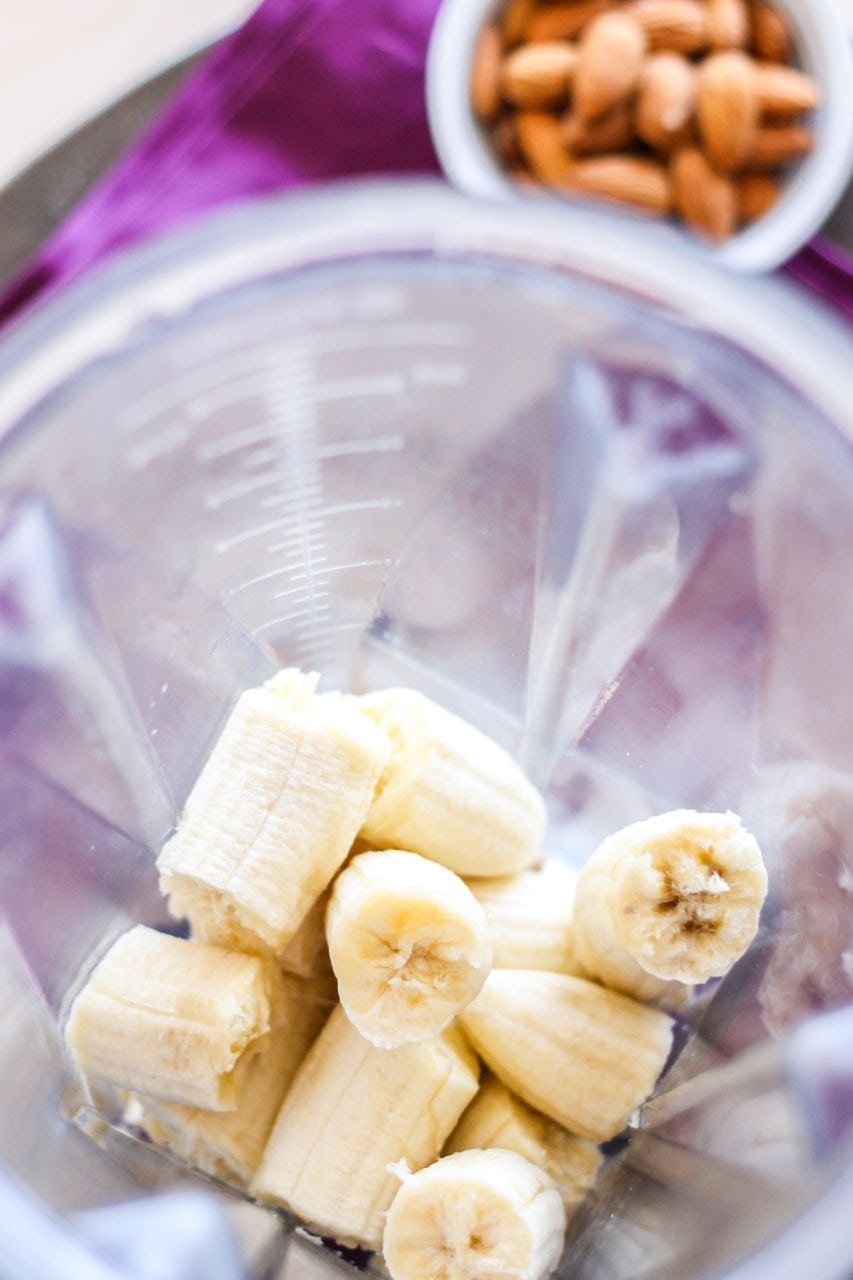
- With minimal liquid added, your best friend for all banana ice cream making adventures is going to be your blender’s tamper. That’s the long plastic stick that inserts through the hole in the lid and allows you to stir things around while the motor runs. Do not, I repeat, DO NOT put any other utensils in there. Fork tine does not make for a fun ice cream flavour.
- To ensure your ice cream stays scoopable with only a little defrosting time, there are a few ingredients that can help ensure you don’t break your arm or a spoon when trying to scoop it out. These are arrowroot powder, guar gum, xanthan gum and corn starch. Depending on your preference, try using 1/4-1/2 tsp the first time you try these recipes, adding it to the blender with the rest of your ingredients.
Now that you’re a vegan banana ice cream making pro, let’s get to those recipes! To appease many tastes, I’ve got 2 decadent and 2 lighter flavours to share with you. Two have protein powder options (because post-workout ice cream is worth running faster for), and in the Blackberry Ripple one I’ve included a super easy no-cook recipe for blackberry chia jam.
So really, that’s 5 recipes. Don’t say I never did anything nice for ya. ?
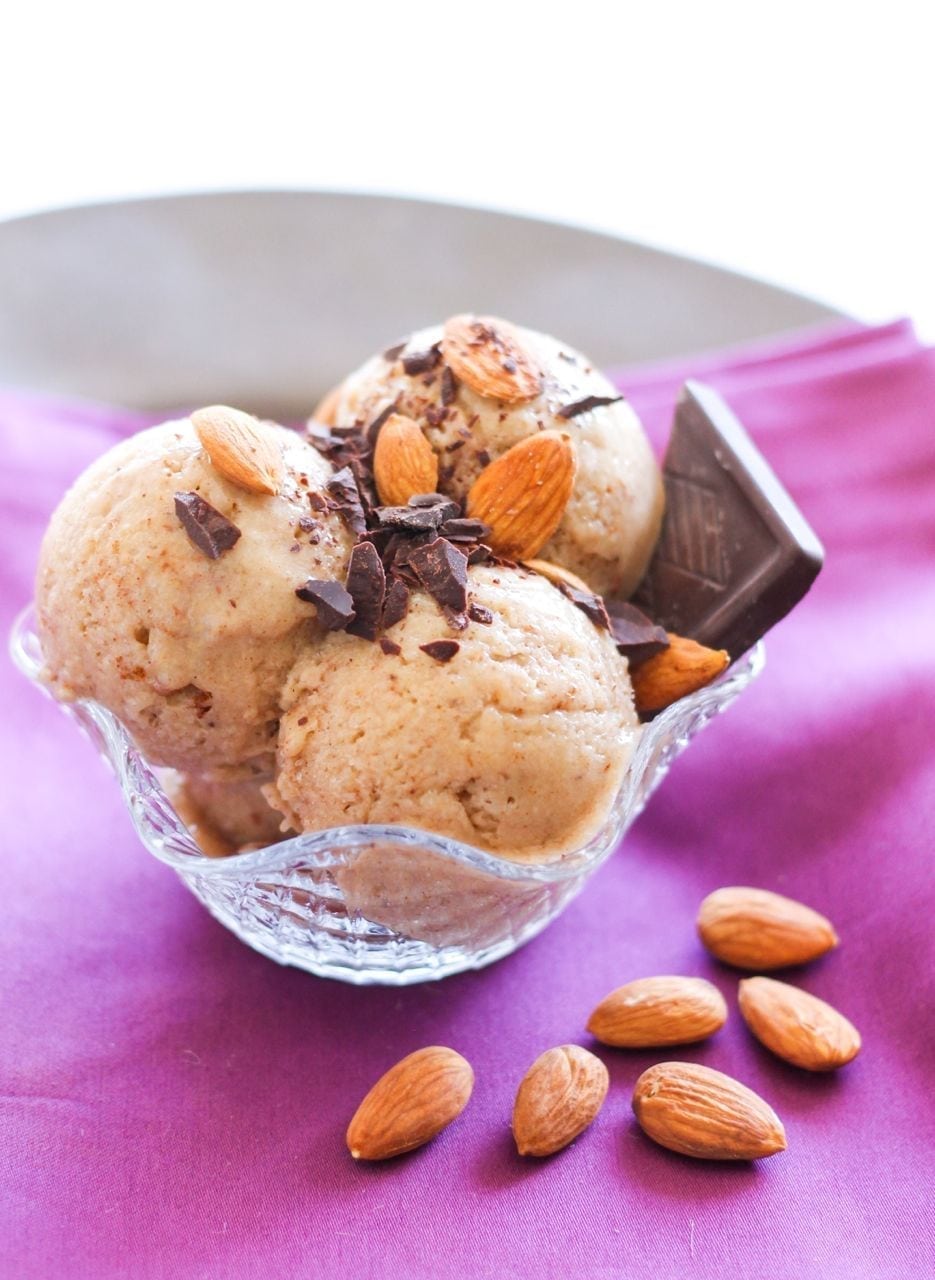
Maca Chocolate Almond “Ice Cream”
Prep Time: 10 mins (+freezing)
Cook Time: 0 mins
Ingredients (2 servings)
- 3 ripe bananas, peeled
- 1 tbsp almond butter
- 2 tsp raw cacao powder
- 2 tsp maca root powder
- 1/2 tsp cinnamon
- 1 tsp almond extract
- 1/2 tsp vanilla extract
- unsweetened almond milk – a few tbsp, only if needed
Toppings:
- raw almonds
- shaved maca chocolate
Instructions
Whirl up all ingredients in your blender, using the tamper stick to help move them around. Use as little liquid as you can get away with as this will help to keep the ice cream from becoming too hard to scoop.
Pour the mixture into a freezer-safe container and freeze for approximately 4 hours.
When ready to enjoy, scoop the ice cream into two bowls. Top with chopped almonds and shaved chocolate, then serve.
Click here to print the recipe
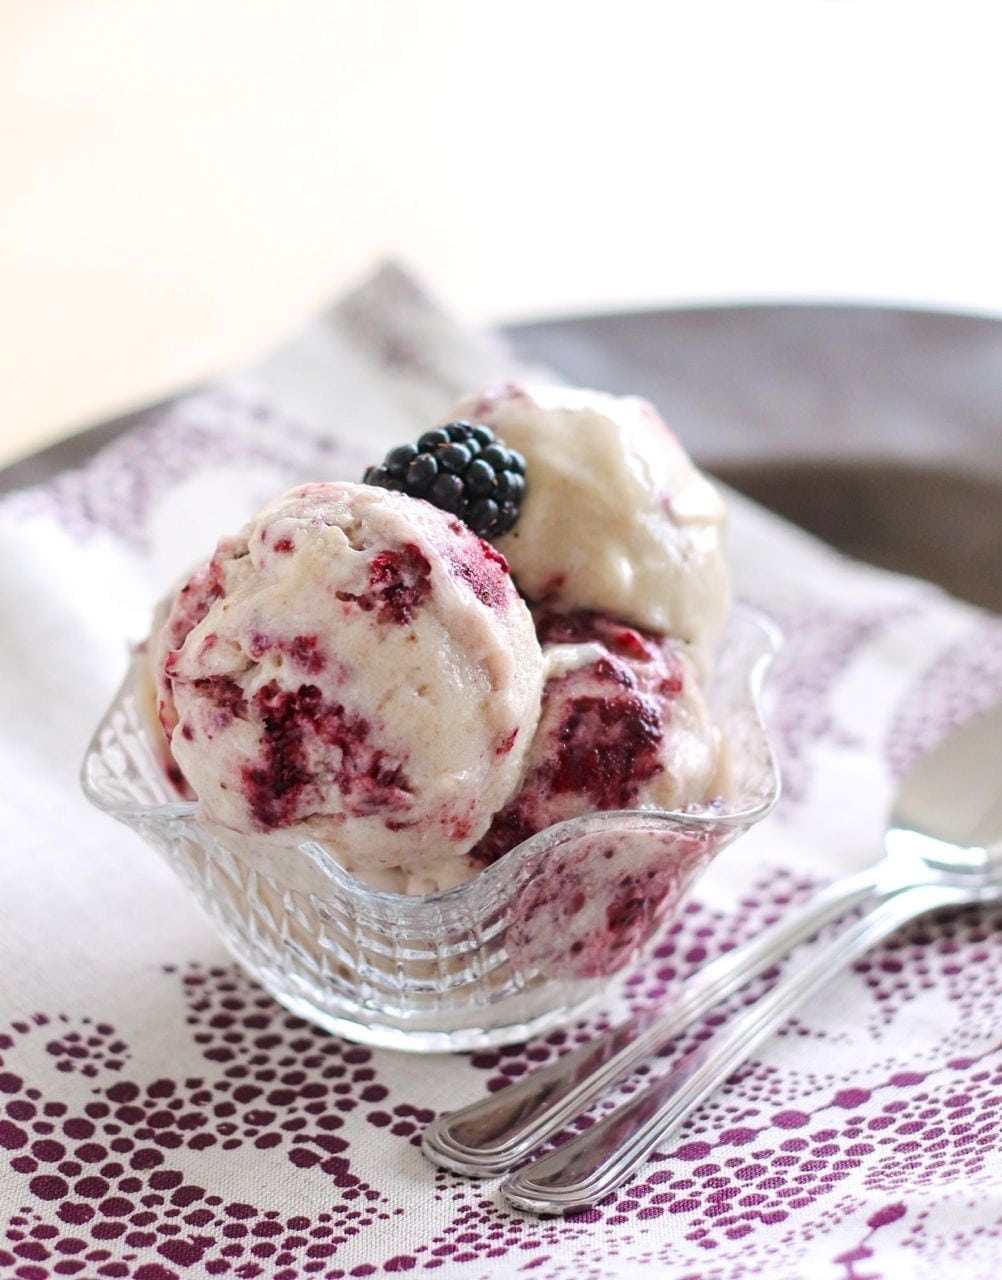
Blackberry Ripple “Ice Cream”
Prep Time: 15 mins (+ freezing)
Cook Time: 0 mins
Ingredients (2 servings)
- 3 ripe peeled bananas
- 1 tsp vanilla extract
- 1/2″ piece fresh peeled ginger root
- 1 tbsp freshly squeezed lemon juice
- a few tbsp unsweetened coconut milk (if needed, to blend)
For the blackberry jam/ripple (you will have some leftover):
- 1 cup blackberries
- 1 tbsp chia seeds
- 1/4 tsp vanilla extract
Instructions
Make the blackberry chia jam first by blending the blackberries until they form a puree. Transfer them to a small bowl and mix in the chia seeds, then set the bowl in the fridge for 10 minutes to thicken and cool.
Meanwhile, blend all remaining ingredients until smooth. Use the tamper stick to help move them around, using only a small drizzle of coconut milk if necessary.
Pour the mixture into a freezer-safe container, then dot a few blobs of blackberry chia jam (about 2-3 tbsp) on top. Using the end of a spoon, swirl the jam around in the banana mixture, creating a ripple effect.
Freeze for approximately 4 hours.
When ready to enjoy, scoop the ice cream into two bowls. Top with fresh blackberries if desired and serve.
Click here to print the recipe

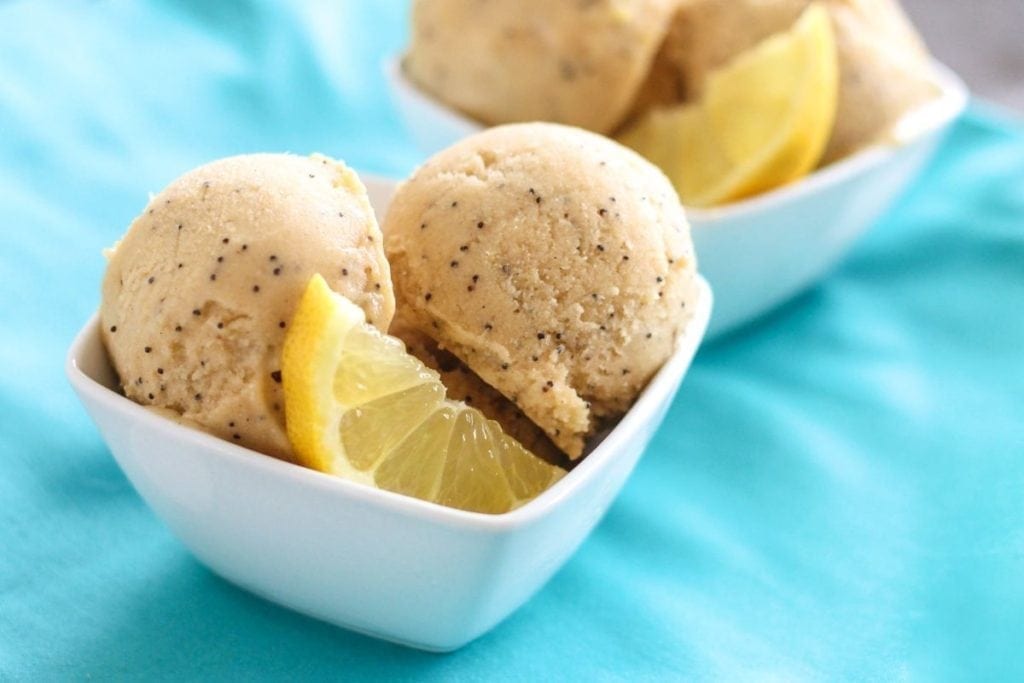
Lemon Poppy Seed “Ice Cream”
Prep Time: 5 mins (+ freezing)
Cook Time: 0 mins
Ingredients (2 servings)
- 3 ripe peeled bananas
- 1 serving vanilla Vega Sport Performance Protein
- 1 tbsp lemon zest
- flesh of 1 lemon (seeds, rind and zest removed)
- 1 tsp vanilla extract
- 1/3 cup unsweetened almond milk or non-dairy beverage
- 1 tsp poppy seeds
Instructions
Toss everything in the blender except for the poppy seeds.
Blend on high until an even mixture forms.
Pour the mixture into a freezer safe container and stir in the poppy seeds.
Freeze for approximately 4 hours.
When ready to enjoy, scoop into bowls and garnish with lemon wedges if desired.
Click here to print the recipe.
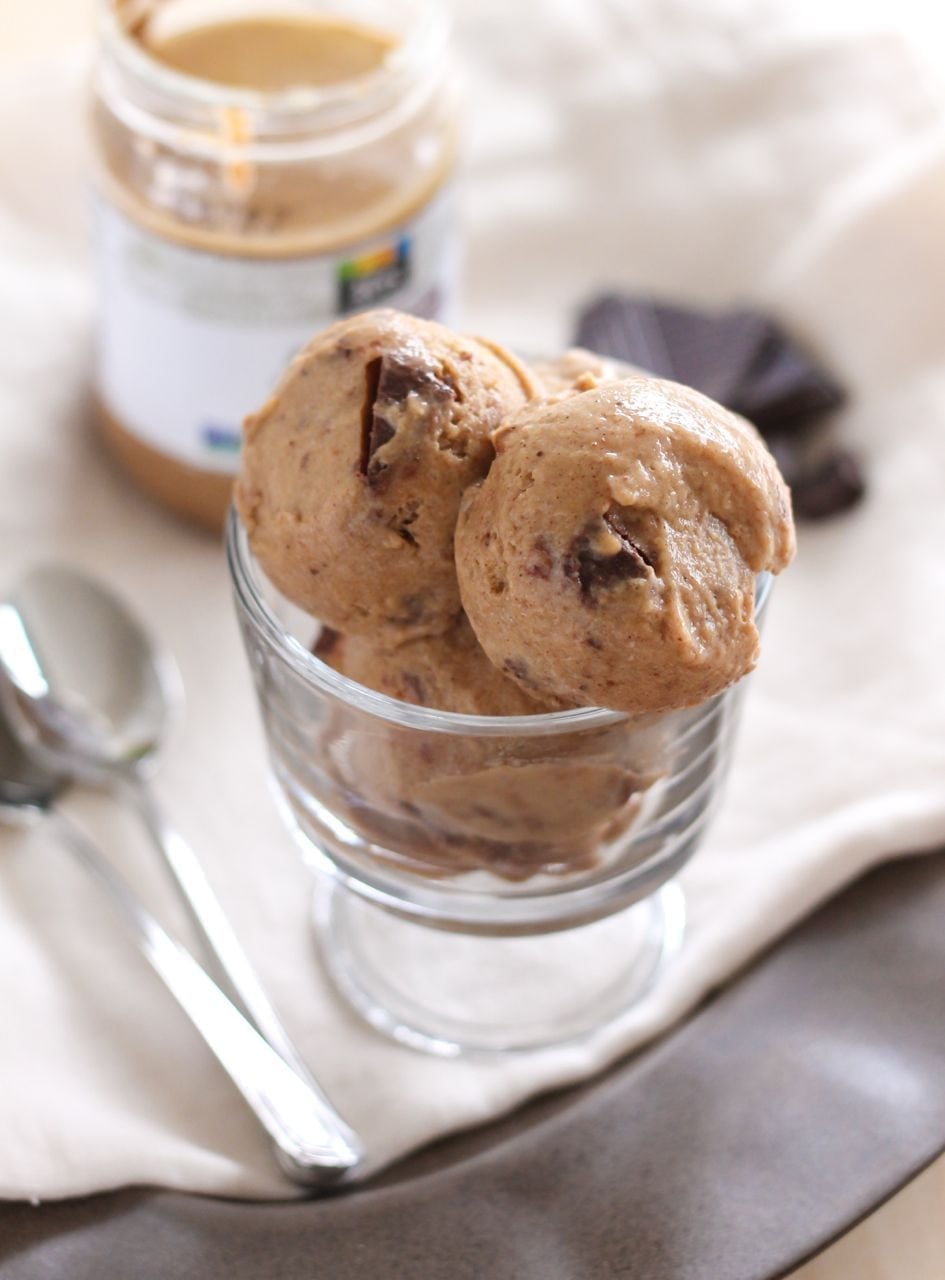
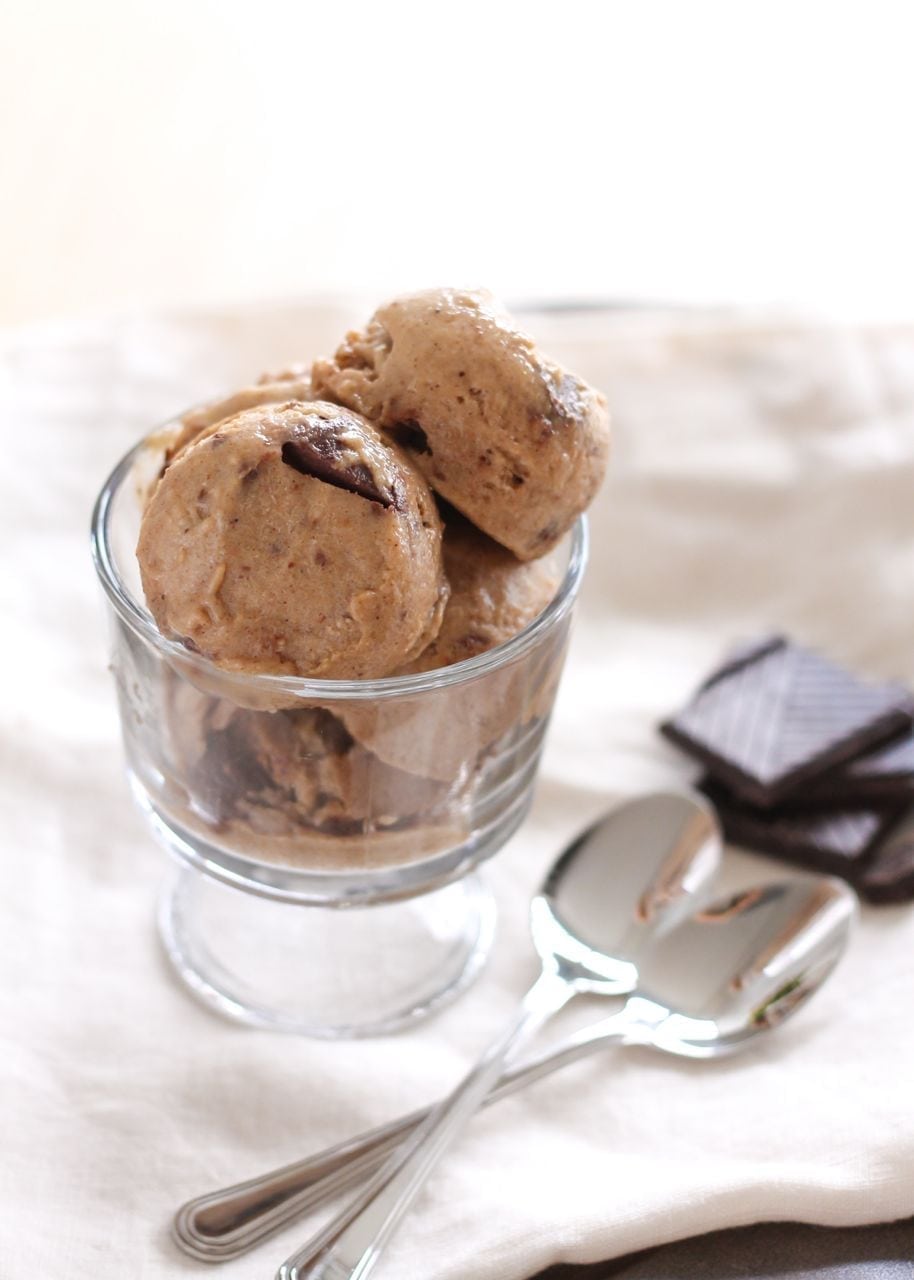
Chocolate Peanut Butter Cup “Ice Cream”
Prep Time: 5 mins (+ freezing)
Cook Time: 0 mins
Ingredients (2 servings)
- 3 ripe bananas, peeled
- 1 serving chocolate Vega Sport Performance Protein, optional – see note below
- 1 generous tbsp natural peanut butter
- 1 tsp raw cacao powder
- almond milk or non-dairy beverage, as needed to blend
- 1/4 cup dairy-free chocolate chips, chopped dark chocolate or maca chocolate
Instructions
Whirl up all ingredients except for the chocolate pieces in your blender, using the tamper stick to help move them around. Use as little liquid as you can get away with as this will help to keep the ice cream from becoming too hard to scoop.
Pour the mixture into a freezer-safe container. Stir in the chocolate and freeze for approximately 4 hours.
When ready to enjoy, scoop the ice cream into two bowls and serve.
*Note: If you’d like to increase the protein content of this ice cream, swapping 1 of the bananas for 1 serving of chocolate protein powder will do the trick and make it taste super decadent at the same time. Note that you’ll need to add more liquid in order to get the mixture to blend. 1/3 to 1/2 cup should do the trick.
Click here to print the recipe.
[Tweet “Pick your flavour: Vegan Banana Ice Cream, 4 ways”]
So tell me… What’s your favourite ice cream flavour? Do you have a favourite summer sweet treat?
Ok. Chocolate peanut butter cup wins. But you had to know that I would say that. I just tried banana soft serve for the first time this weekend and I may have to make a habit of it with these delicious options!
are you from canada?
I am! 🙂
can you recommend me some websites/blogs/youtubers from canada? 🙂
Hi Kasia, I don’t really follow many Canadian Youtubers, but if you go to http://www.foodbloggersofcanada.com/ you’ll find links to lots of Canadian blogs! There used to be a blogger directory which was removed, but you’ll still find some bloggers on their Featured Blogs page. Enjoy!