
A couple of weeks ago, yours truly got her hands on some embossing paste for the first time and went to TOWN making all sorts of textured backgrounds. As you guys know, I LOVE a good white on white background, as well as a lot of dimension. I was intrigued and excited by the prospect of creating both using the stencils in my stash that I don’t use enough, so I did a bunch of research on whether embossing paste or texture paste would be best for what I wanted to make, then pulled the trigger and ordered a tub of Altenew Embossing Paste.

Upon opening the tub and giving it a little stir with my palette knife, I was delighted to find that it was bright white, light and fluffy – reminiscent of the Cool Whip that I dipped many, many strawberries in during my childhood. I needed to make a baby card for a good friend of mine who’s just had a baby girl, so I chose a simple stencil full of circles and got to work on my background.
I positioned a silicone craft sheet over my magnetic Make Art Stay-tion mat, using the magnets to secure my white card panel and the stencil in place. (The craft sheet was simply to speed up my clean-up process, but I’m pretty sure you could do the embossing paste application directly on the Make Art Stay-tion as long as you wipe off any excess as soon as you’re finished.) Next, I used a palette knife to scoop a bit of embossing paste out of the jar and onto my stencil. It was really easy to smooth it over the entire surface, creating a nice even layer before returning the excess to the jar and peeling back the stencil to reveal the circles.

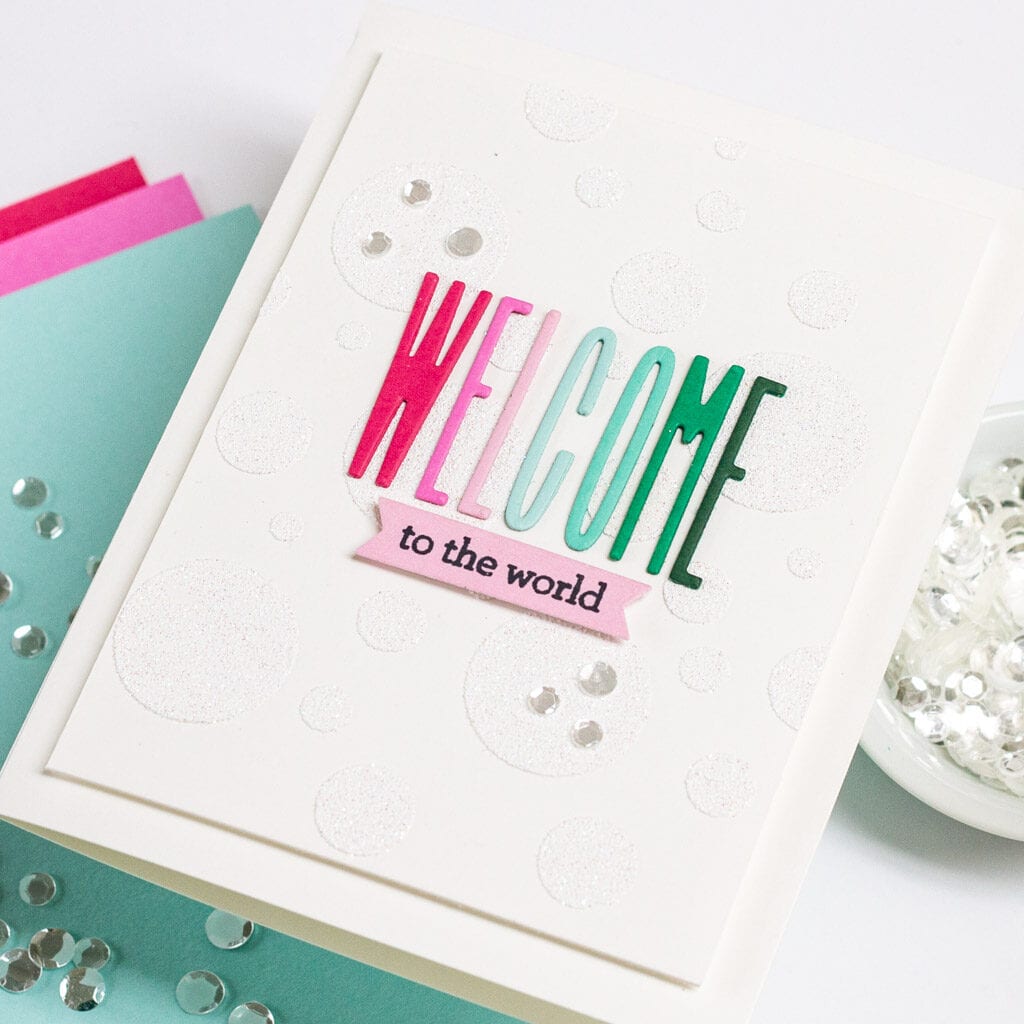
I wanted the background to be sparkly and celebratory, so I poured some Sparkling Snow embossing glitter on top, tapped off the loose bits, and set it aside to dry. While waiting, I die cut the letters for ‘welcome’ from The Stamp Market Mini Skinny Upper Alpha die set, and combined them with the words “to the world” from the Simon Says Stamp Welcoming stamp set.
When the embossing paste was dry, I used my heat gun to set the embossing glitter. (I had read previously that trying to set the embossing glitter before the paste dries can lead to a bubbling effect, which I didn’t want.) This made it gorgeous and sparkly – something I really wish the camera could capture better! I trimmed the panel down, backed it with foam tape, then mounted it on my white card base. From there, I added my die cut letters (stacking them for dimension) and stamped sentiment. Finally, I finished the card with a few bits of confetti.

With this card complete, I’m now an embossing paste enthusiast and can’t wait to use it on more projects. I’d love to hear – do you use embossing and/or texture pastes on your cards? Which are your favourites?