If you’ve been following along for a while, you already know that I can’t resist a good white on white background. There are so many ways to do this – cover dies, other die cuts, heat embossing – but one technique that I haven’t used in a very long time is embossing paste, paired with a stencil.
For those of you who are new to embossing paste, don’t worry at all – it’s really easy to work with, relatively inexpensive, and very versatile. It’s also lovely and fluffy, and reminds me a lot of that marshmallow fluff dip that my friends and I used to dunk strawberries in when we were kids! Mine is white, and if you like, you can tint it whatever color you like with the same re-inkers you use to juice up your ink pads. But in true Angela fashion, today we’re going with white – and a whole lot of sparkle!
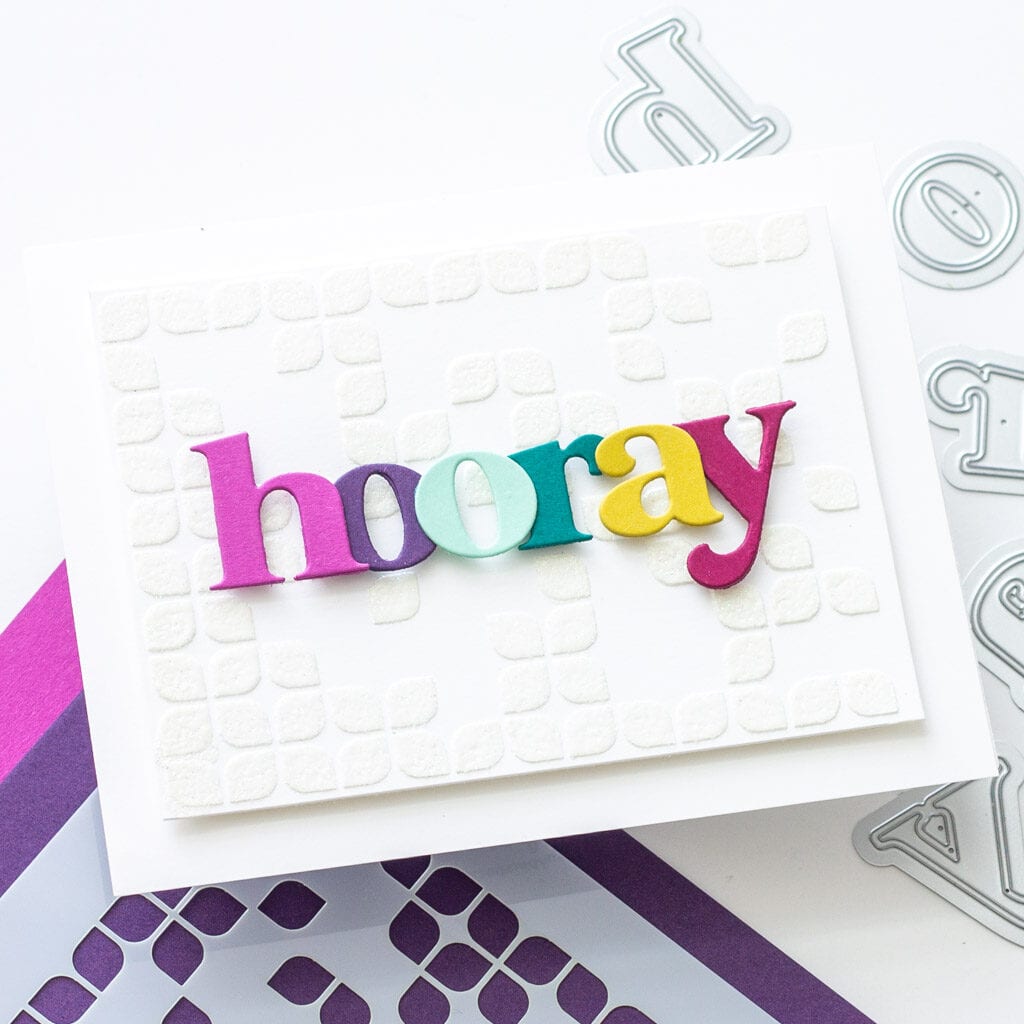
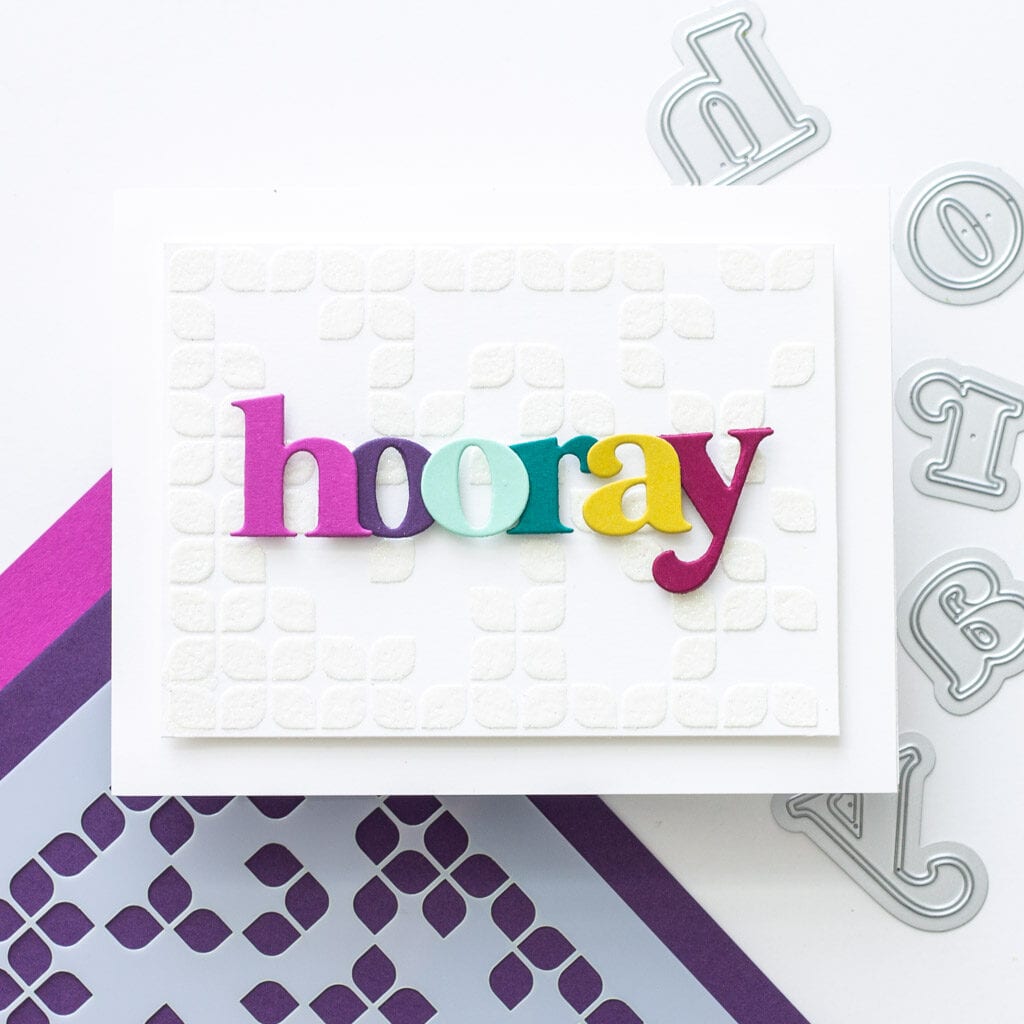
To get started, I picked out my stencil. You can use any one you like for this, and I chose the Pinkfresh Studio Slimline Leafy Squares stencil. As the name implies, it’s big enough to use on a slimline card, but I decided to mask off the edges and use a trimmed white cardstock base to fit an A2 card. I placed the stencil over my cardstock, masked off the parts of the stencil that I didn’t want to get embossing paste on, and secured the stencil to my magnetic platform (the Make Art Stay-tion.)
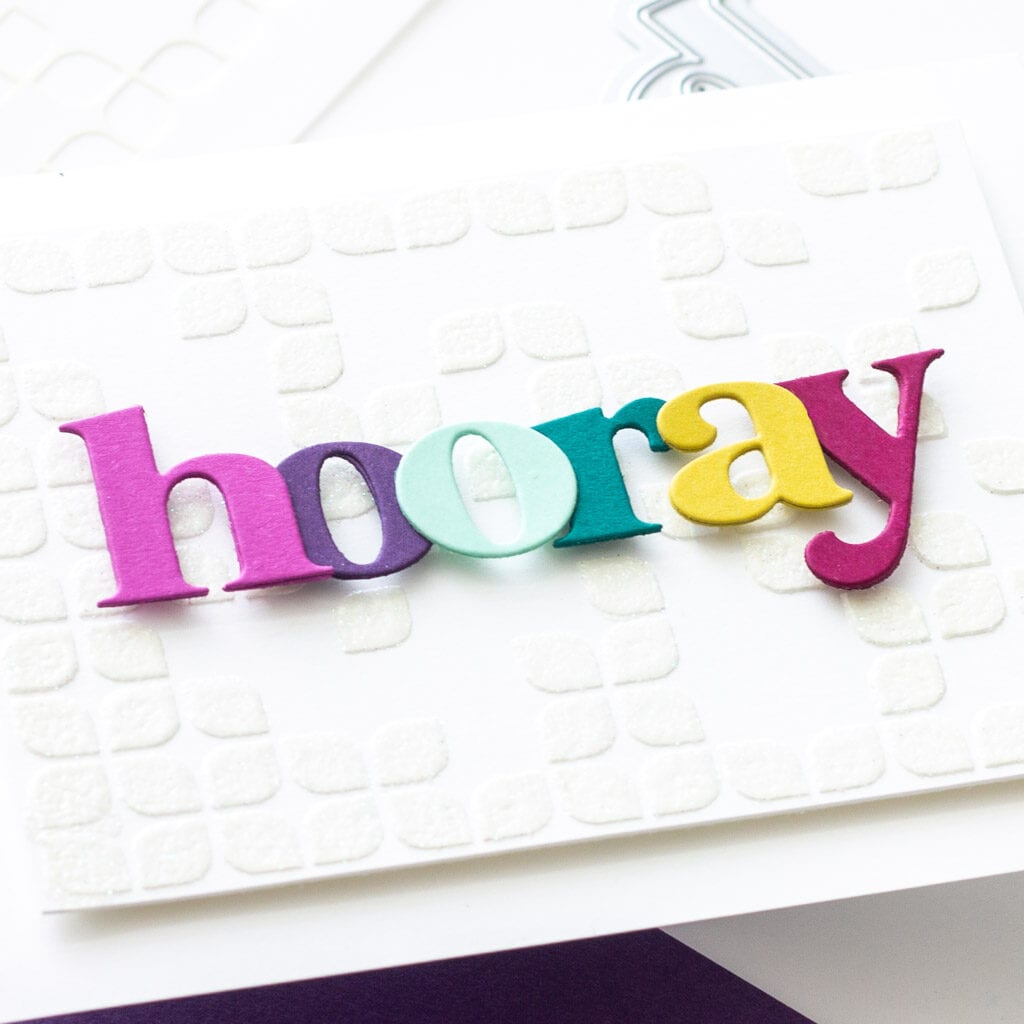
Next, I grabbed my jar of embossing paste and began spreading it over the stencil with a plastic palette knife. The knife makes it really easy to apply a nice even layer, and once I had the stencil area covered, I scooped up the excess paste and returned it to the jar. At this point, I rinsed off my knife and stencil quickly in warm water so that the paste wouldn’t dry on either, then moved over to heat embossing. For this, I chose WOW Clear Sparkle embossing glitter, and if you weren’t so in love with white background like I am, you could certainly use any color you like! Rather than applying heat to set the powder right away, I put the panel aside to dry completely. In the past I’ve found that heat embossing right away causes the paste to bubble more than I want it to, whereas if you let it dry first, the surface of the raised area remains smoother.
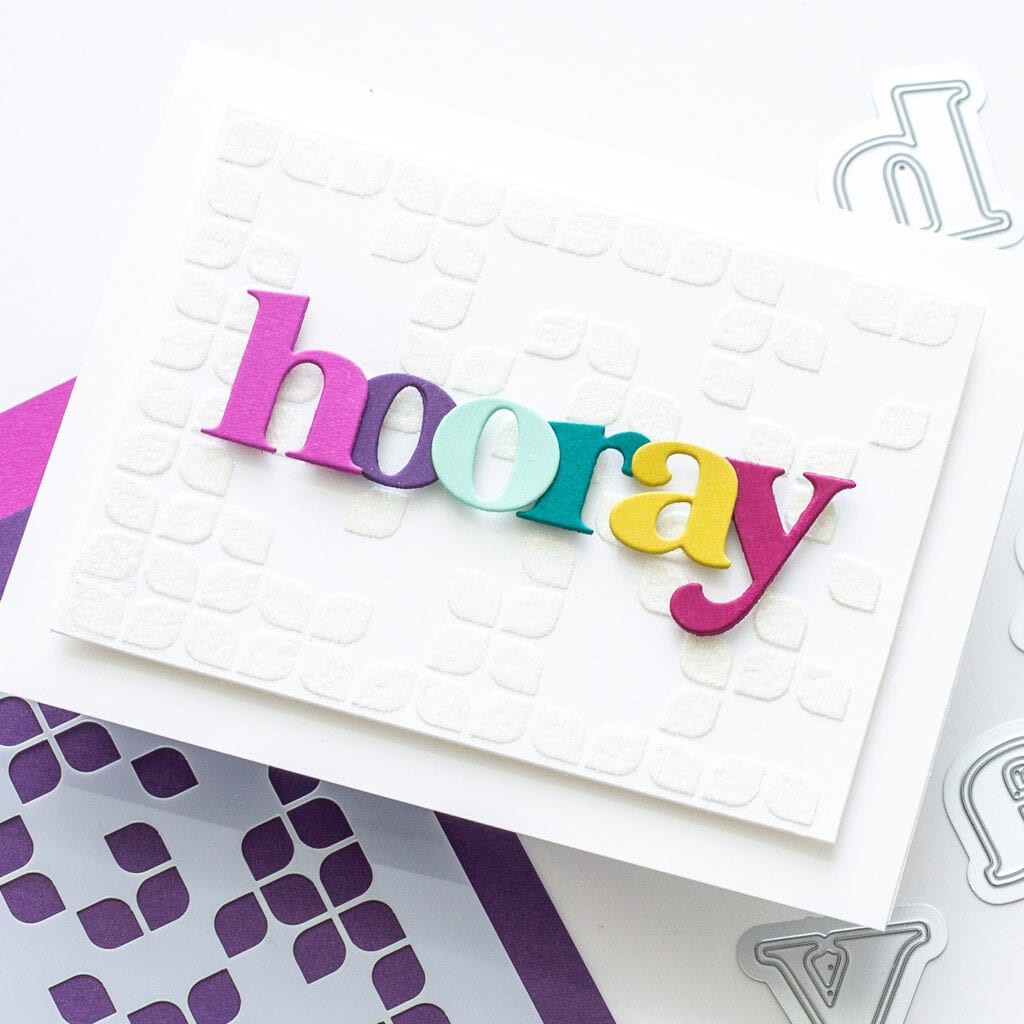
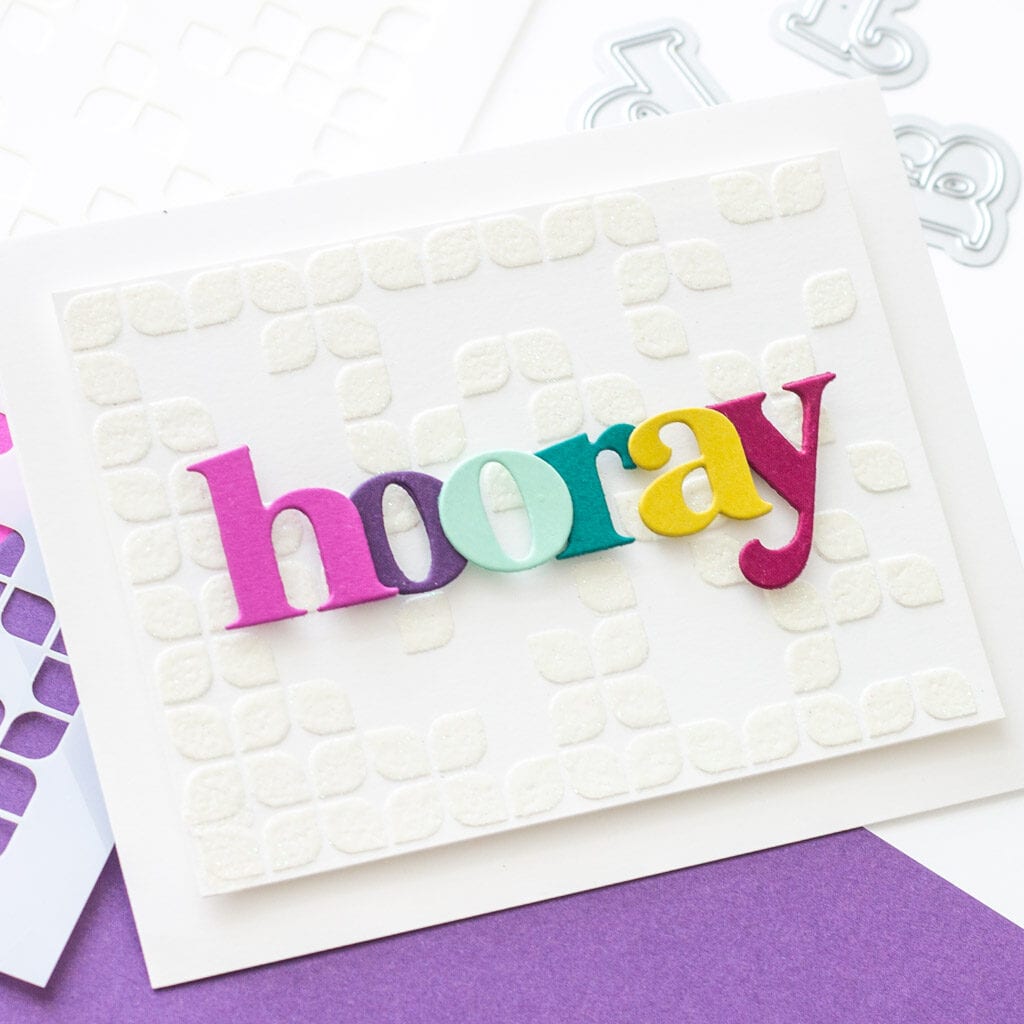
As for the sentiment, I went for a ‘hooray’, created using Heather’s Lower Case die set and a little assortment of scrap cardstock colors that satisfied my itch for color at the time. Each was double cut and stacked, then backed with skinny foam strips and adhered to the card. To finish, I popped the textured glitter background panel with foam tape up onto some foam tape and mounted it to my card base.
I hope this card has inspired you to get more out of your stencils, whether you’re using it to make a glitter background with embossing paste, or simply using the paste to add dimension on smaller areas. I’d love to see what you make, so be sure to tag me (@mycraftyperspective) on Instagram so I can see your creations!